


www.inspiredtaste.net
Our Favorite Apple Pie
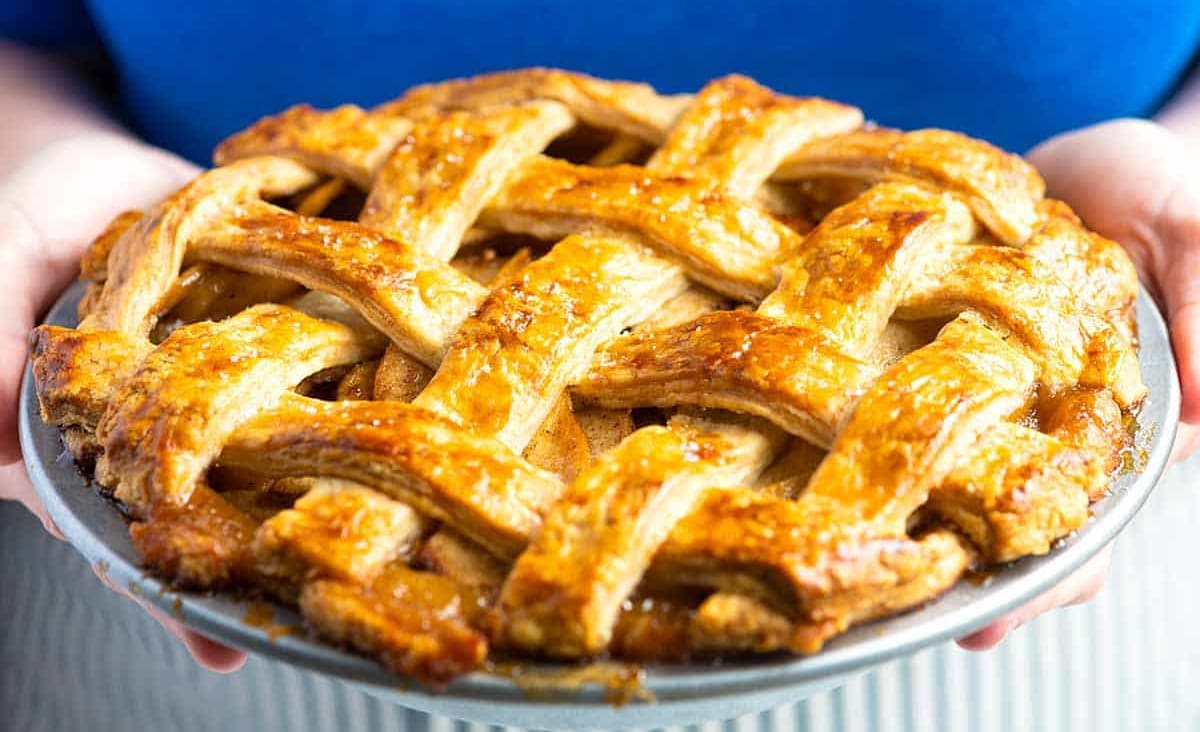
Classic apple pie from scratch. This recipe guarantees pie with perfectly cooked (not mushy) apples surrounded by a thickened and gently spiced sauce all baked inside a flaky, golden brown crust.
Food
Our favorite recipe for making a classic apple pie from scratch. This recipe guarantees apple pie with perfectly cooked (not mushy) apples surrounded by a thickened and gently spiced sauce all baked inside a flaky, golden-brown crust.
How to Make Perfect Homemade Apple Pie
It’s taken us a while to zero in on our favorite method for making apple pie, but I think we’ve finally nailed it. This simple recipe guarantees perfectly cooked apples surrounded with a thick gently spiced sauce. There’s no need for precooking the sauce or apples and the steps to make this pie are simple, you just need a little time.
As with all of the pie recipes on Inspired Taste, we start with this homemade pie crust. I’m a stickler on this one. It has never failed us and is our go-to recipe for pumpkin pie, tarts, and other fruit pies like blueberry pie.
You can make the crust in advance. It can be refrigerated or frozen. Definitely check our pie crust recipe for our tips on making it (it even has a video).
As for the apples, we use a lot of them and like to use two or more varieties for the most apple-flavored pie. I’ve listed some of our favorites below. It isn’t a complete list, but it should give you some inspiration when shopping for your homemade pie. If you find yourself with extra apples, try making homemade applesauce!
We don’t precook the apples before adding them to the crust.
Instead, we toss peeled and sliced apples with sugar, salt, and spices in a large bowl. When the apples are well coated, we set the bowl aside and let the apples sit for about an hour.
In this hour, the sugar and salt work on the apples to help them release their delicious liquid (you can see how much in our photos and the video). The apples also soften quite a bit. We do this when making apple bread, too.
Then just before adding the apples to the prepared pie dish, we toss in some starch — I usually use cornstarch, but tapioca starch works, too. This starch mixes with all that liquid released by the apples and will help thicken it as the pie bakes in the oven.
I’ve followed a few pie recipes that ask you to throw away some or all of that delicious liquid before filling the pie. There’s so much flavor there!
Thankfully, with our pie-making method, you can use all of the liquid, which with our slightly longer bake time will turn into a thickened sauce. I’ve measured how much liquid is released from the apples over 1 hour and consistently get about 3/4 cup. A little more or a little less is fine, though.
If you find that your apples released much more, you might want to consider leaving a little behind. (When apples are overripe, they can release more liquid than usual, which can make your pie a bit more runny.)
On this subject, make sure to read our tips below for cooling the pie. The cooling step is crucial with fruit pies and goes a long way to making sure the filling is actually thick and won’t run out onto your plate the moment you cut it.
The Apples We Use For Apple Pie
To make this apple pie, we use approximately 4 pounds of apples (or about 11 cups of sliced apples). For the best apple flavor, try adding more than one variety of apple to your pie.
We especially love these varieties of apples for baked desserts and pie:
Granny Smith — Your standard, never-fails baking apple. Tart, crisp, and they keep their structure after time in the oven.
Honeycrisp — Extra crisp and always holds firm after baking. One of our favorites!
Jonagold — Tart with a bit of sweetness. They also hold up well in the oven.
Braeburn — Crisp, sweet apples that hold up well in pie and other baked desserts.
Mutsu — Big apples that look like a large Golden Delicious. Has a sweet honeyed flavor and holds up well in pie.
Pink Lady — A good balance of sweet and tart. Will also hold its shape when baked.
Golden Delicious — Sweet and flavorful apple that’s very versatile. Will hold up in pie, but will become softer than some of the varieties mentioned above.
Jazz — Sweet and crisp flavor. Will hold up nicely in pie.
How Long Does Apple Pie Take?
We bake a standard 9-inch pie in a 400 degree oven for about 75 minutes.
One of the biggest complaints with apple pie is that the filling is too runny, even after following a recipe. That’s why we’ve become such fans of this method of making apple pie.
With this method (which we first tried after flipping through Bravetart), the pie bakes at one temperature for a long time. This extra long bake time makes sure the liquid in the apple pie filling has a chance to simmer and thicken.
How to Tell When The Pie Is Done
Here are three simple methods for telling when apple pie is ready to come out of the oven:
Visual cue: Apple pie is done when the juices are bubbling through the vents of the top crust or lattice. If you do not see bubbles, the pie needs more time.
Internal temperature: The pie is done when an internal thermometer inserted into the middle of the pie reads 195 degrees Fahrenheit (90C).
Texture of the apples: Piercing the pie is a good indication of how soft the apples are. If they feel too crunchy, the pie needs more time.
More Baking Tips for Apple Pie
Use a trusted pie crust recipe. We always use this homemade pie crust recipe for our pies.
Prepare the apple pie filling first and set it aside for 1 hour, allowing the apples to release their juices then mix the apples and the juices with a thickener like cornstarch or tapioca starch.
Bake at 400 degrees F for approximately 75 minutes, turning a few times for even browning. The long bake time makes sure that the filling thickens inside the pie.
If your crust starts to brown too quickly or looks to be turning too dark, mold a large piece of foil over a bowl that’s been placed upside down to make a foil dome. Place the foil dome over the pie for the remaining bake time. This will slow the browning.
Let apple pie cool before cutting into it. For the best results, the filling should be room temperature or cold before slicing. Cooling the pie gives the liquid inside a chance to thicken even more, which means it won’t spill out into a pool when you cut into the pie. (This is true for other fruit pies, especially blueberry pie and homemade cherry pie.)